Last Updated on 4 October 2024 by Team GFD
Korniche Roof Lantern Installation: What you need to know
One of the benefits of a Korniche roof lantern installation is that it couldn’t be any simpler due to the Korniche roof lantern being one of the easiest to install currently on the market.
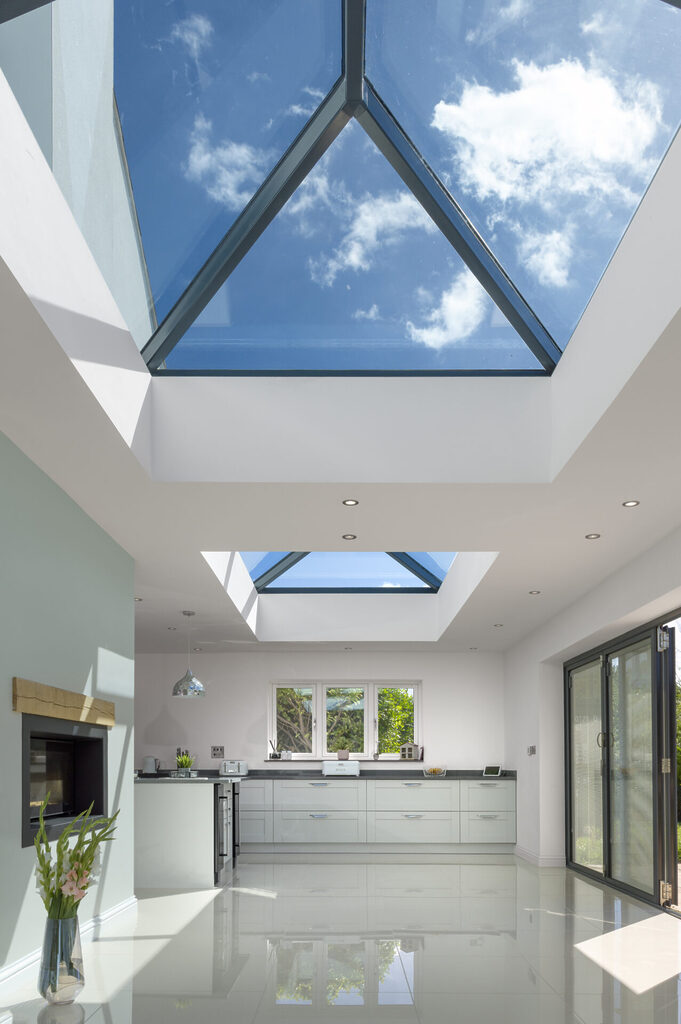
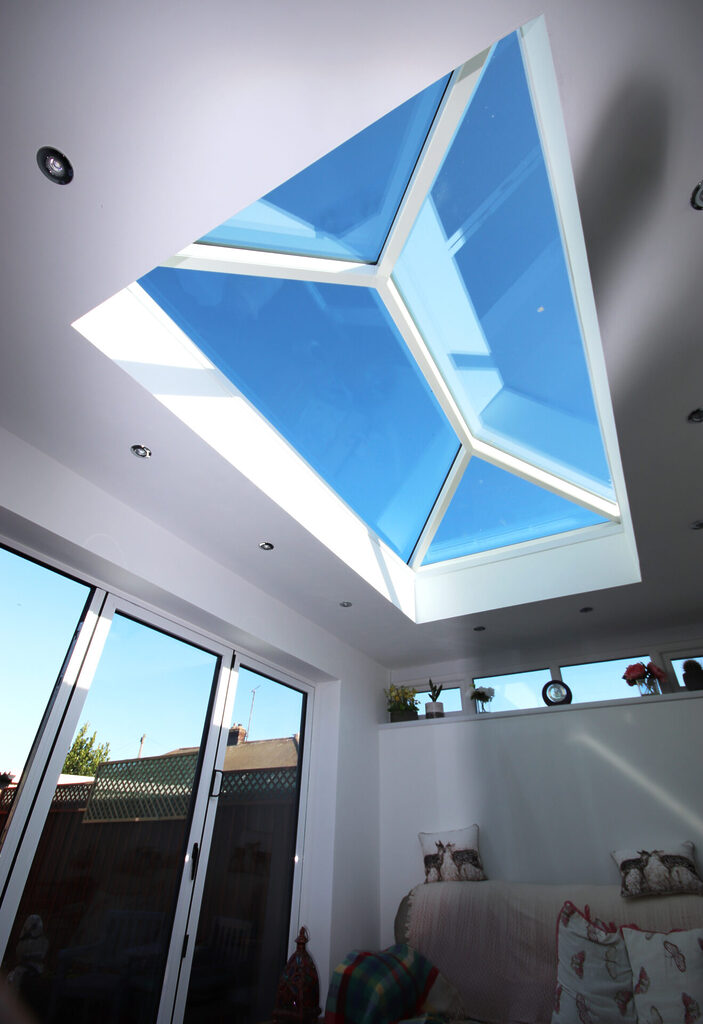
Installing a roof lantern can be a game-changer for your home. Not only does it fill your space with natural light, but it also adds a sense of luxury and modern design.
Korniche roof lanterns, known for their sleek, minimalist frames, are a top choice for homeowners looking to enhance their living spaces.
By the end of this guide, you’ll know exactly how to measure for your Korniche roof lantern, order the correct size, and install it with confidence.
Looking for some information in a hurry? Jump to it:
- How to measure and install
- Choosing the right size for you
- Part 1 Measuring Your Upstands
- Part 2 Measuring from the Roof
- How to Install
- Get your Korniche Roof Lantern
- FAQs
How to Measure and Install Your Korniche Roof Lantern
One of the most important parts of installing a roof lantern is getting the measurements right.
Incorrect measurements can lead to leaks, drafts, and costly mistakes.
But don’t worry—we’ve broken it down step-by-step so you can be sure you’re doing it right.
Why Proper Measurement is Crucial
Roof lanterns are designed to fit precisely within an opening, sitting on an upstand to ensure a watertight and secure installation.
Without accurate measurements, you risk ordering a roof lantern that’s too small or too large, which could cause issues with fitting and sealing.
Proper measurements also ensure the roof lantern complements your roof design, enhancing both aesthetics and function.

All our Korniche and Atlas roof lanterns come with a 10 year guarantee giving you peace of mind for years to come.
Choosing the Right Size for Your Korniche Roof Lantern
Before you get into the installation process, you need to decide on the right size of your Korniche roof lantern.
The size depends largely on the dimensions of your roof opening or the upstand, as well as your aesthetic preferences.
Are you looking to flood your room with maximum light, or would a smaller lantern fit better with your home’s style?
Factors to Consider When Selecting a Size
When deciding on the size, keep in mind the architectural style of your home, the amount of light you want, and the dimensions of your roof.
Larger roof lanterns will allow more light, but they might not suit every roof type, especially if space is limited.
Another important factor is how the roof lantern interacts with your room’s layout.
For example, if you have a small kitchen, a massive lantern might look overwhelming, whereas a more modest size could provide balance while still giving you that much-needed extra light.
Part 1: Measuring With Your Upstand Installed
An upstand is a key element in roof lantern installation.
It’s the raised frame that supports the roof lantern and ensures water doesn’t seep in around the edges.
If your upstand is already in place, measuring becomes a bit more straightforward.
Step 1: Measure the External Upstand and Roofing Membrane
Start by measuring the external dimensions of your upstand.
This will include the length and width of the upstand itself. Be sure to measure from the outside edges to get the most accurate numbers.
Also, take note of the roofing membrane that will go around the upstand, as this will impact the final dimensions.
Step 2: Add the Recommended Measurements
Once you have the basic measurements, add any extra space as recommended by the Korniche roof lantern manufacturer.
This is usually a few millimetres on each side to account for installation ease and the upstand’s required clearance.
Step 3: Don’t Forget to Account for the Overhang
Some roof lantern designs include a slight overhang that extends beyond the upstand.
It’s important to consider this when making your measurements, so you don’t end up with a roof lantern that sticks out too far or doesn’t sit properly on the upstand.
Step 4: Order the Appropriate Size
With all your measurements in hand, you’re ready to order your roof lantern.
Be sure to double-check all dimensions before placing your order.
Korniche roof lanterns are made to measure, so getting it right the first time will save you both time and money.

Part 2: Measuring From the Roof Opening
When it comes to measuring for a roof lantern, if your upstand isn’t installed yet, or if you’re building one from scratch, you’ll need to measure directly from the roof opening.
Step 1: Measure the Roof Opening
Using a tape measure, record the dimensions of the roof opening where the lantern will sit.
Be precise, as any mistakes here will affect the size of the upstand and, ultimately, the roof lantern itself.
Make sure to measure the width and length of the opening and record these numbers accurately.
Step 2: Apply the Formula
Korniche and most other roof lantern manufacturers provide a formula to convert roof opening measurements into upstand and lantern sizes.
This formula accounts for the necessary clearances and ensures a perfect space to fit a roof lantern.
Use this formula to determine the right size lantern for your roof.
Step 3: Order the Appropriate Size
Once again, after ensuring your measurements are accurate, you can confidently place your order.
Be mindful that any discrepancies in the size of the roof opening or upstand could result in issues during installation, so double-check your work.
How to Install a Korniche Roof Lantern
After your roof lantern arrives, it’s time for the exciting part—the installation. Korniche roof lanterns are designed to be both easy to assemble and install.
Follow these steps for a smooth installation.
Step 1: Assemble the Ring Beam
Slide together the four pieces using the corner brackets and temporarily secure the corners with the supplied tie-wraps
Step 2: Apply Silicone to the Ring Beam That Will Fit on the Upstand
The first thing to do is apply a layer of silicone to the ring beam that will sit directly on your upstand.
This silicone creates a watertight seal between the roof and the lantern, preventing leaks.
The fitting guide supplied with your Korniche Roof Lantern will show you exactly where the silicone needs to go.
Step 3: Assemble and Fit the Spider Frame
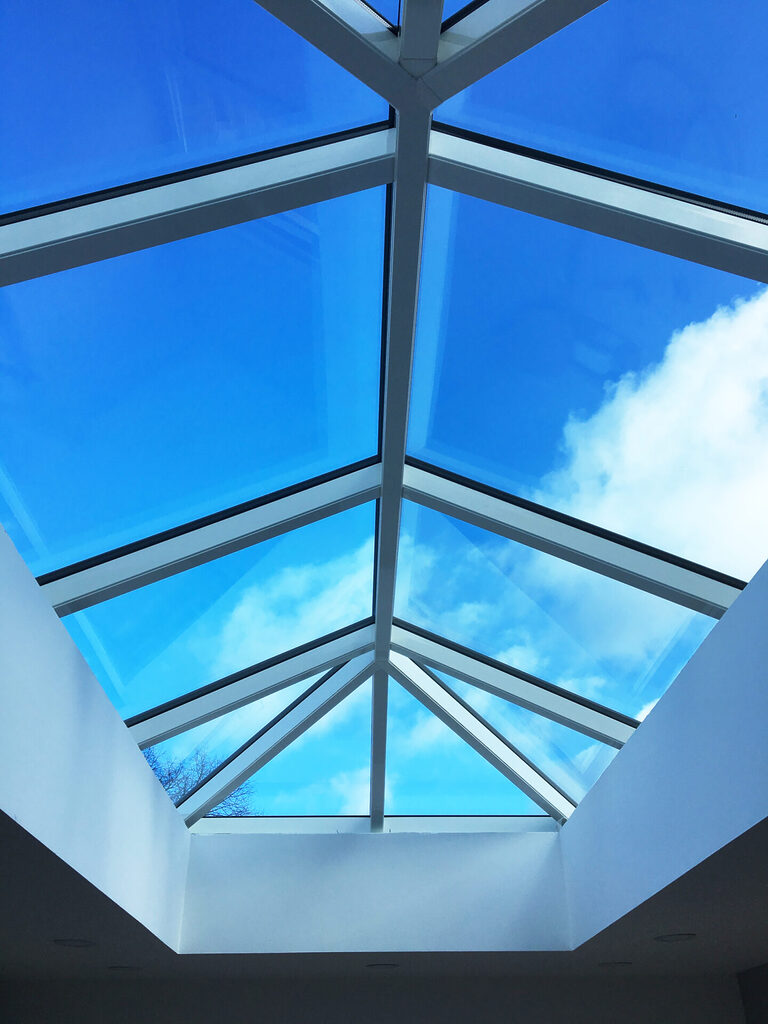
The next step is to assemble the spider frame, which is made up of hip rafters, ridges and sometimes jack rafters, which provide structural support for the roof lantern.
These frames are pre-cut and easy to slot together. Once assembled, fit them securely to the corners of the ring beam.
Step 4: Install the Glass and Place the Glazing Beads
With the frame in place, it’s time to install the glass. Korniche roof lanterns come with energy-efficient, high-performance glass that’s both sturdy and insulating.
Slide the glass into the glass retainer, place the top edge of the glass into the spider frame and then carefully lower the glass into the frame.
Step 5: Fit the Corner Pieces, End Caps and Top Caps
Finally, attach the corner pieces and the caps to complete the look. These parts are essential for both aesthetics and function, ensuring the lantern is sealed properly and looks polished from both inside and outside the house.

Invest in Korniche Roof Lanterns With GFD Homes
Installing a Korniche roof lantern is a fantastic way to brighten up your home and add value.
By following the correct measurements and installation steps, you’ll ensure a perfect fit and a professional finish.
That said, while the measuring and installation processes are generally straightforward, we still recommend opting for professional fitting. Expert installation can help guarantee the perfect result and minimise the risk of future problems.

Whether you’re looking for a bespoke quote or have a few more questions on Korniche roof lanterns, don’t be afraid to call our expert team on 01642 309 576, or book a visit to our Teesside showroom.
FAQs About Roof Lantern Installation
Do I Need Building Regs for a Roof Lantern?
In most cases, yes.
Building regulations often apply when you’re making structural changes to your roof, such as changing a pitched roof to add a roof lantern.
It’s important to check with your local authority to ensure you meet all requirements before starting your project.
Does a Roof Lantern Need an Upstand?
Yes, an upstand is typically required for a roof lantern installation.
It provides the elevation and secure platform the roof lantern needs to be properly fitted.
Without a roof lantern upstand, you may experience water ingress or issues with structural integrity.
Do Roof Lanterns Add Value to the Property?
Definitely!
Adding a roof lantern not only improves your home’s aesthetics by increasing natural light but also enhances its energy efficiency and potentially boosts the property value.
Homebuyers often look for well-lit, energy-efficient spaces.
How Do You Measure a Korniche Roof Lantern?
To measure a Korniche roof lantern, start by measuring either the roof opening or the external upstand.
Use the manufacturer’s formula to ensure the correct size based on your measurements, and double-check all figures before ordering to avoid any installation issues.

