Last Updated on 15 November 2024 by Tia Ellahi
To fit a roof lantern, you’ll need to first prepare the base and ring beams, then build the ring beams and get them ready for glazing, glaze the roof lantern and finally fit the pressure plates.
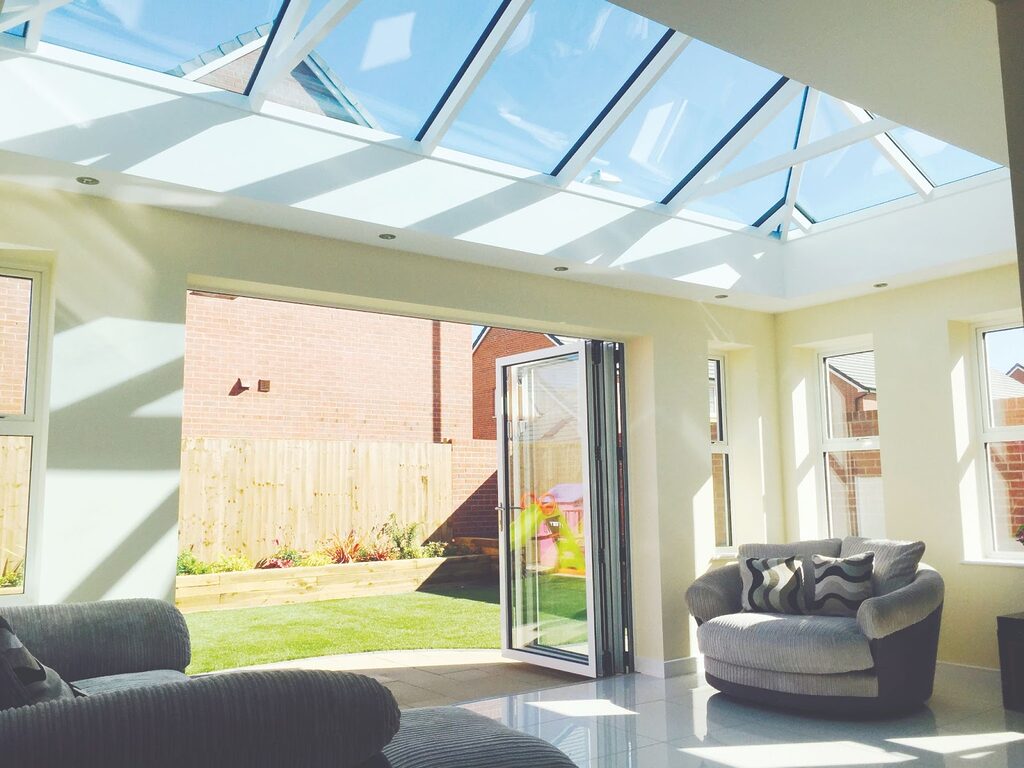
Adding a roof lantern to your home not only enhances its aesthetic appeal but also brings in natural light, creating a bright and inviting living space.
While installing a roof lantern may initially appeal challenging, tackling it as a DIY project can be rewarding with proper guidance, however it’s strongly recommended to consider seeking professional assistance to ensure a secure and precise installation.
In this article, we’ll take you through the main steps involved in successfully installing a roof lantern, as well as answering some frequently asked questions too.
Need to get it in quick? Jump ahead to:
- Are roof lanterns easy to fit?
- 7 Steps to fitting a roof lantern
- Importance of professional installation
- Invest in High-Quality Roof Lanterns with GFD Homes
- FAQs
Are roof lanterns easy to fit?
The ease of fitting a roof lantern can vary based on a range of factors such as your DIY skills, the complexity of the specific roof lantern design and the level of detail involved in the installation process.
Before deciding to install your roof lantern yourself, here are some considerations you may want to make:
1) Skill level
Fitting a roof lantern can involve several different steps, including the base, assembling the ring beams, glazing and fitting pressure plates. If you have a great deal of experience with DIY projects and are comfortable with tasks like measuring, cutting and assembling, you may find the process manageable and not too stressful.
Alternatively, if you don’t have any general building experience, we’d recommend opting for professional installation. This will ensure your roof lantern is installed correctly and reduces the chances of problems afterwards such as roof lantern leakage.
2) Complexity of the design
Some roof lanterns come in kits with pre-cut components, making the installation process a lot more straightforward. Others may have intricate designs, requiring precision and attention to detail.
It’s essential to carefully read and understand the manufacturer’s instructions before starting the installation.

When it comes to ‘Roof Lanterns Vs Roof Lights’, the better option depends on a range of factors.
3) Tools and equipment
Having the right tools and equipment is crucial. If you already possess the necessary tools or are willing to invest in them, it can make the installation smoother. Common tools include a spirit level, drill, screwdriving and saw.
Choosing a professional installer will mean that you don’t have to worry about this as they will have the necessary tools and equipment ready to hand.
4) Safety considerations
Working at height and handling glass requires extra caution. Ensure you have proper safety equipment, such as a sturdy ladder and personal protective gear.
If you’re uncomfortable with heights or lack experience in working with glass, we would recommend using a professional installer as this will help to ensure that your roof lantern is fitted correctly.
5) Regulatory compliance
Depending on your location, there may be building regulations and permit requirements for installing roof lanterns. Ensuring compliance with local regulations is crucial to avoid potential issues in the future.
Read our ‘Do I Need Planning Permission for a Roof Lantern?’ article for more information on planning permission.
Overall, while some homeowners may find fitting a roof lantern to be within their capabilities, others may prefer to hire professionals to ensure a secure and precise installation.
Professional installers bring expertise, experience and the assurance that the job is done correctly.
If you’re ever in doubt or feel like the project is complex, seeking professional assistance is highly recommended.
7 Steps to fitting a roof lantern
It’s extremely important to understand that there isn’t a one-size-fits-all set of steps for fitting a roof lantern. The specific steps tend to vary depending on the type of roof lantern design you choose.
At GFD Homes, we only offer roof lanterns designed for easy and efficient installation, with all of our lanterns designed to be fitted within minutes.
If your roof lantern comes with a specific set of instructions, we highly recommend following those instructions as they are tailored to the design and requirements of your particular lantern.
1) Prepare the base
Before you begin the installation process, it’s essential to first prepare a solid base for your roof lantern. Ensure that the supporting structure is sound and the area is clean and level.
This step lays the foundation for a stable and durable installation.
2) Prepare the ring beams
Next, focus on preparing the ring beams, which form the perimeter of the roof opening. Carefully measure and cut the beams according to the specifications of your roof lantern.
This step is vital for achieving a precise fit and proper support for the lantern structure.
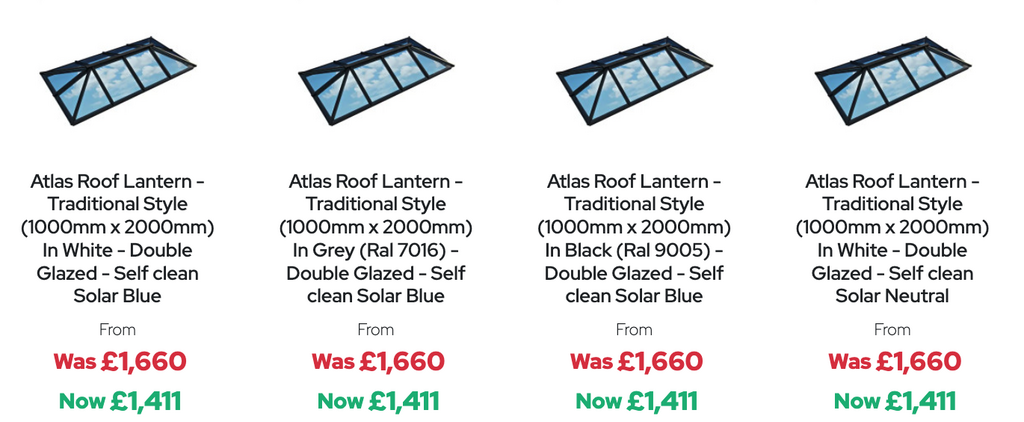
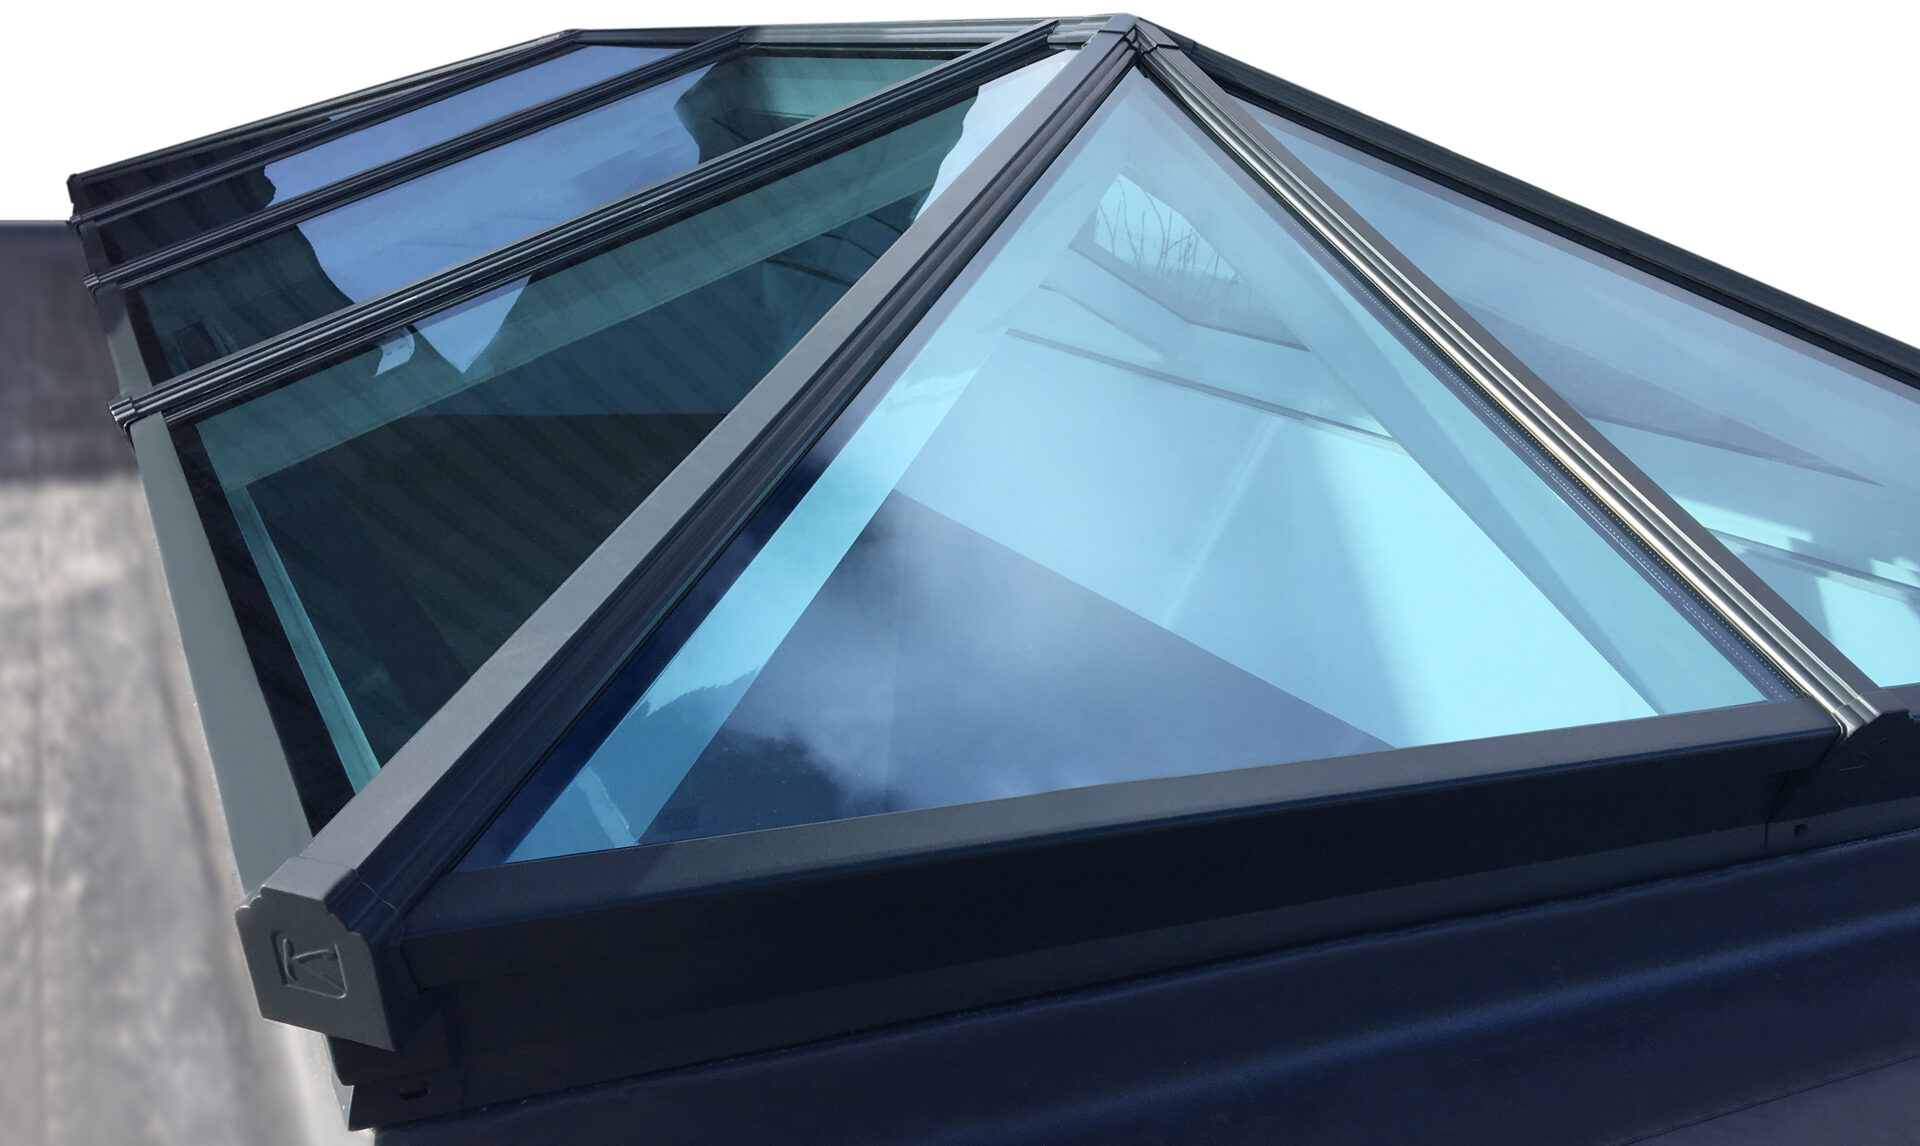
If your roof lantern has come pre-assembled, just like our Atlas Roof Lanterns do, you won’t need to measure and cut the beams.
3) Build the ring beam
Assemble the ring beam by securely connecting the prepared components. Follow the manufacturer’s instructions closely and make sure the structure is square and level.
A well-constructed ring beam is crucial for the stability and longevity of your roof lantern.

Large open plan kitchen with 2 Korniche roof lanterns fitted.
Feel free to browse through our GFD Homes blog for a wealth of information on roof lanterns.
4) Prepare for glazing
Prepare the opening for glazing by cleaning and inspecting the surfaces. Ensure that the glazing area is free of debris and dirt.
This step sets the stage for a clear and unobstructed view through your roof lantern.
5) Glazing the roof lantern
Carefully install the glazing components according to the provided instructions. Take your time to ensure a snug fit and double check that all elements are securely in place.
Proper glazing is key to preventing roof lantern leakage and maintaining efficiency.
6) Fit the pressure plates
Secure the glazing in place by fitting the pressure plates. These plates help create a weather-tight seal, providing protection against the elements.
Be sure to pay attention to the manufacturer’s recommendations to ensure proper installation.
At GFD Homes, all of our roof lanterns come with a set of clearly marked instructions, allowing your lantern to be built and installed in no time!
7) Enjoy your new roof lantern
Once you’ve completed the previous steps, you’re ready to enjoy the benefits of your newly installed roof lantern.
Bask in the natural light it brings into your home and appreciate the enhanced ambiance of your living space.
Understanding the importance of professional roof lantern installation
As mentioned previously, there isn’t a single standardised method for fitting and installing roof lanterns as they vary widely in complexity and requirements. Thanks to recent advancements in technology, most roof lanterns on the market, including our popular Atlas roof lanterns and Korniche roof lanterns, have been meticulously designed for quick and easy installation, requiring just minutes to set up.
While those with experience in various building tasks or intricate DIY projects may consider tackling roof lantern installation themselves, it’s essential to recognise the intricacies involved in ensuring a secure and weatherproof fit. Therefore, we strongly recommend seeking professional assistance to help guarantee a perfect fit.
When it comes to seeking a reputable installer for your roof lantern, options include roofers, double glazers or builders, especially if your roof lantern is part of an extension project.
Before going ahead and making a decision, be sure to review the installer’s credentials and recent customer feedback to help minimise the risk of post-installation issues, such as roof lantern leakage for example.
Invest in High-Quality Roof Lanterns with GFD Homes
At GFD Homes, we’re proud to offer a fantastic range of Atlas and Kornich Roof Lanterns, all coming with an easy to read instructions manual so you can have your lantern up and installed within minutes.
As well as this, every roof lantern we supply comes with a 10-year guarantee to reinforce their quality, along with our commitment to supplying some of the best products in the home improvement industry.

If you’re ready to experience the many benefits of roof lanterns, why not check out our stunning roof lantern range. Alternatively, if you have some questions, don’t be afraid to contact our team for help on 01642 309576.
Want to see a roof lantern in person? Book a visit to our showroom using the number above.
FAQs about Fitting Roof Lanterns
Can you add a roof lantern to an existing roof?
Yes, it is possible to add a roof lantern to an existing roof however, it’s essential to access the structural integrity and seek professional advice to ensure a safe and effective installation.
Do I need planning permission for a roof lantern?
In many cases, adding a roof lantern falls within permitted development rights, meaning planning permission is not required.
However, we’d recommend checking with your local planning authority to confirm whether planning permission will be required for your specific project.
How are roof lanterns supported?
Roof lanterns are typically supported by a ring beam, which distributes the weight evenly across the structure. The ring beam is then supported by the existing or newly installed roof structure.
What upstand do you need for a roof lantern?
The required upstand height for a roof lantern depends on several factors, including the roof lantern type, local building regulations and personal preferences.
If you’re not sure what you need, contact a professional for the best advice.
Are roof lanterns easy to fit?
In most cases, fitting roof lanterns can be a bit of a tricky task if you don’t have much experience in general building work or DIY, however this can also depend on the roof lantern you purchase. Some roof lantern designs are much trickier to build and install than others.
At GFD Homes, our range of roof lanterns only includes those that can be fitted within minutes, such as the Korniche Roof Lantern, considered as the ‘fastest lantern to install on the market’ and the Atlas Roof Lantern. These lanterns come pre-assembled and labelled, allowing them to be installed quickly.
