Last Updated on 9 October 2024 by Tia Ellahi
How do you Fit a Korniche Roof Lantern?
Fitting a Korniche roof lantern involves several steps: first, prepare the opening; then assemble the roof lantern frame, install the base, mount the roof lantern, fit the glazing, and finally, add the finishing touches, such as the end caps.
Brightening your home with natural light can transform any space, making it feel more spacious, inviting, and vibrant. One effective way to achieve this is by installing a Korniche roof lantern. Known for their sleek design, ease of installation, and superior quality, Korniche roof lanterns are an excellent choice for homeowners looking to enhance their homes.
In this article, we’ll guide you through the steps of fitting a Korniche roof lantern and explain why professional installation is recommended.
What are Korniche Roof Lanterns?
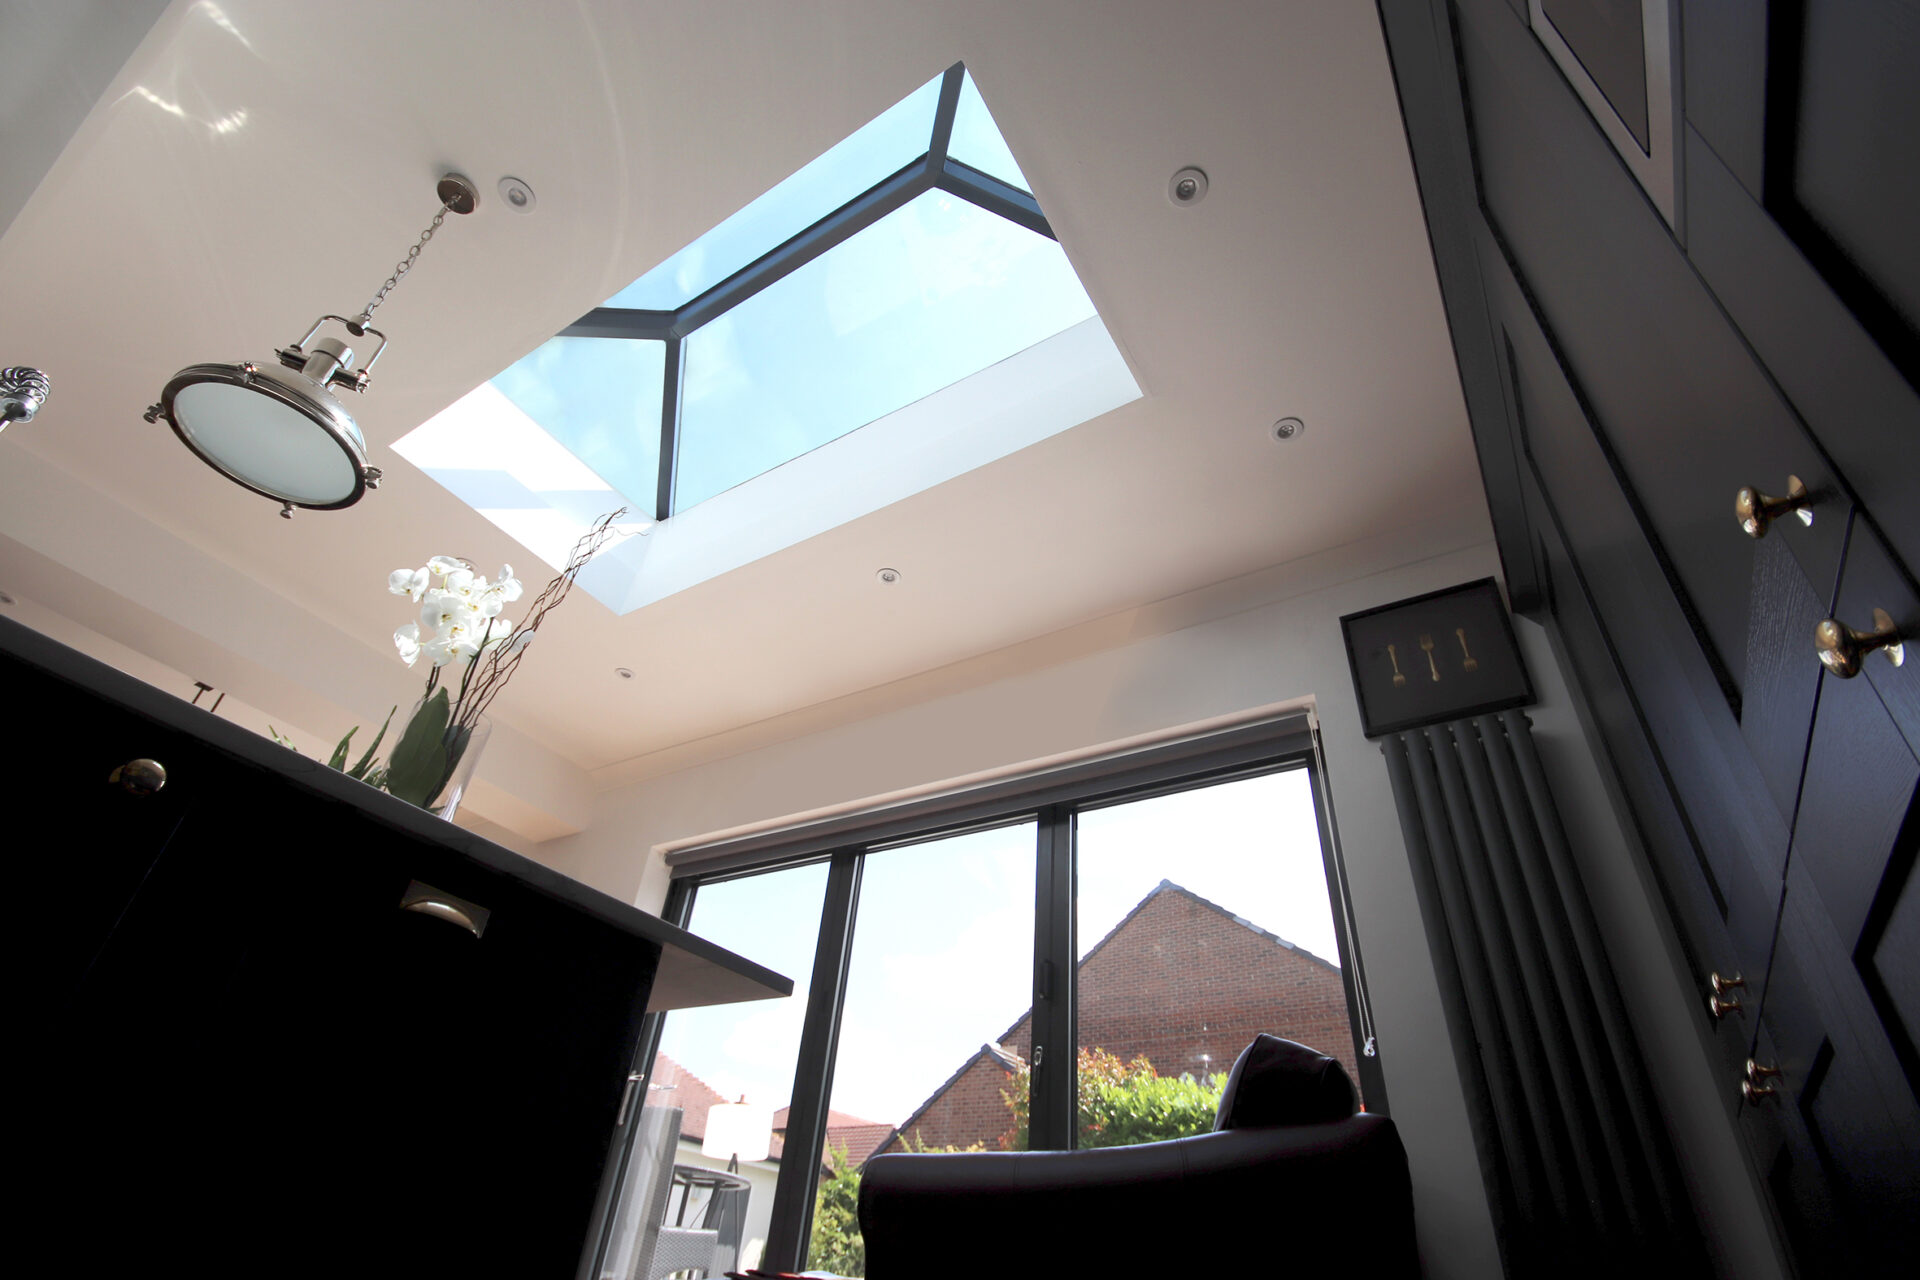
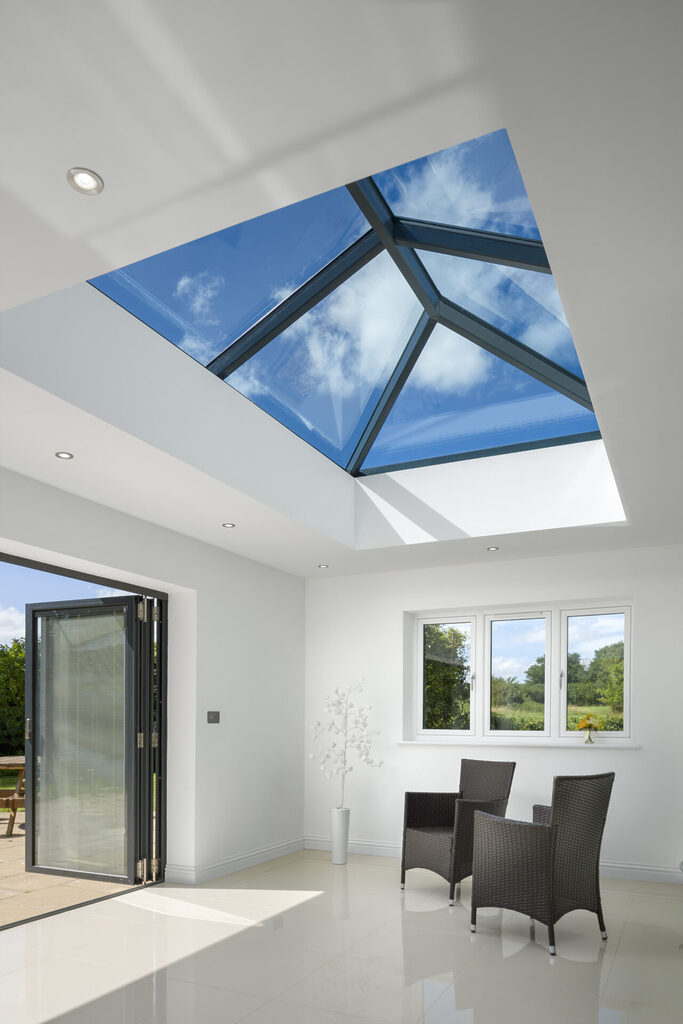
Korniche roof lanterns are innovative architectural features designed to flood interior spaces with natural light. They are typically installed on flat roofs, creating a striking visual impact while improving the brightness and ambiance of a room. These lanterns are made from high-quality aluminium, ensuring durability and longevity, and are available in various sizes and finishes to match different home styles.
Korniche roof lanterns stand out due to their contemporary aesthetics and functional benefits. Their slim sightlines and high-strength frame allow maximum light penetration while maintaining excellent thermal performance. The combination of advanced materials and precise engineering makes Korniche roof lanterns an attractive and practical addition to any home.
Why Choose Korniche Roof Lanterns?
Choosing Korniche roof lanterns comes with several benefits:
Aesthetic Appeal
Their sleek and modern design adds a touch of elegance to any home. The minimalist frame and expansive glazing panels create a seamless connection between the indoor and outdoor spaces, enhancing the overall visual appeal of your home.
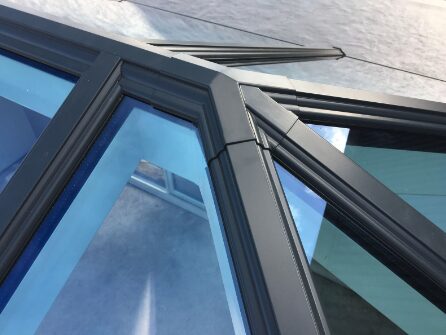
Our Korniche roof lantern comes in a range of colours including the popular white, grey & black.
Energy Efficiency
They are designed to be thermally efficient, helping to reduce energy costs. The thermally broken aluminium frame and high-performance glazing ensure that your home remains warm in the winter and cool in the summer, contributing to lower energy bills.
Easy Installation
Korniche roof lanterns are engineered for easy installation, making them a popular choice among homeowners and professionals alike.
Durability
Made from high-quality materials, these lanterns are built to last and withstand harsh weather conditions. The robust aluminium frame is resistant to corrosion, ensuring that your roof lantern maintains its appearance and functionality for years to come.
Easy Installation
Korniche roof lanterns are engineered for easy installation, making them a popular choice among homeowners and professionals alike. The pre-assembled components and detailed instructions allow for a hassle-free installation process, even for those with basic DIY skills.
How to Fit a Korniche Roof Lantern
Fitting a Korniche roof lantern involves several steps. Here’s a detailed guide to help you understand the process:
Prepare the Opening
1) Measure the Opening
Ensure that the opening on your flat roof matches the size of the roof lantern you have purchased. Accurate measurements are crucial to ensure a proper fit and to avoid any gaps that could lead to leaks or structural issues.
2) Clear the Area
Remove any debris or obstructions around the opening to ensure a smooth installation process. A clean workspace helps prevent any damage to the components and allows for easier handling during installation.
3) Check the Structure
Ensure that the roof structure is strong enough to support the weight of the roof lantern. Reinforce the surrounding area if necessary to provide adequate support and stability for the roof lantern.
Assemble the Roof Lantern Frame
1) Unpack the Components
Carefully unpack all the components of the roof lantern, including the rafters, hips, and eaves beams. Lay out all the parts and check against the installation guide to ensure that you have all the necessary components.
2) Secure the Frame
Use the provided corner brackets and bolts to assemble the frame. Make sure the corners are tightly secured with tie-wraps temporarily. This step is crucial for maintaining the structural integrity of the roof lantern during the installation process.
Install the Base
1) Position the Eaves Beams
Place the eaves beams around the perimeter of the opening. Ensure that they are aligned correctly and sit flush with the roof surface.
2) Apply Sealant
Apply sealant generously to the specified areas to ensure a watertight seal. This prevents any water ingress and helps maintain the thermal efficiency of the roof lantern.
Mount the Roof Lantern
1) Assemble and Fit the Spider Frame
Secure the hips to the boss using 70mm bolts and tapered washers. The spider assembly forms the central hub of the roof lantern, providing structural support for the rafters and hips.
2) Fit the Rafters (If your lantern has them)
Attach the rafters to the boss, ensuring the correct size bolts and washers are used. Follow the installation guide to ensure that each component is correctly positioned and securely fastened.
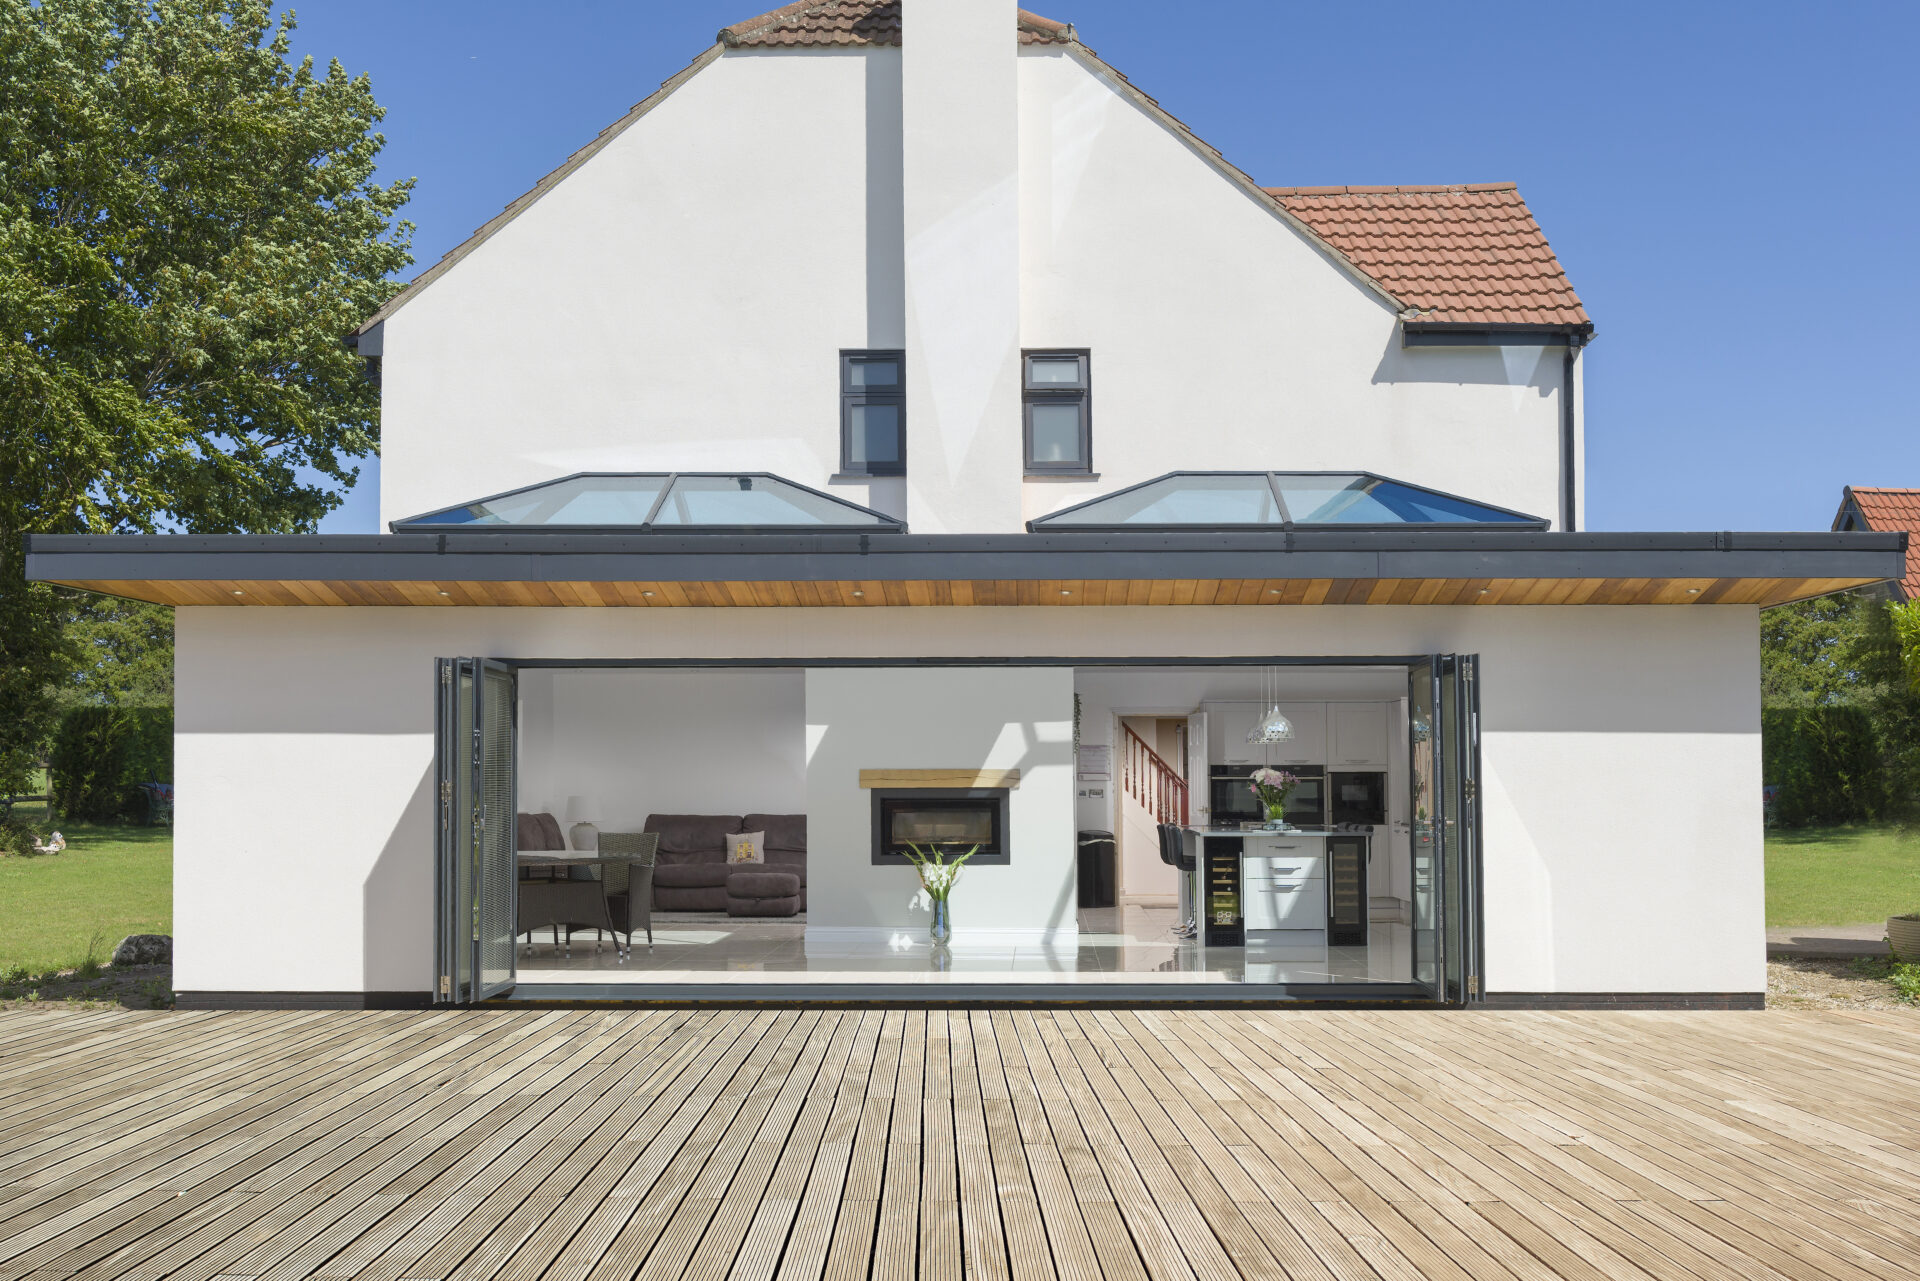
Depending on the size of your roof, you may be able to have 2 roof lanterns instead of a single, larger one.
3) Attach the Spider Frame to the Ring Beam
Carefully fit the spider frame securely to the corners of the ring beam.
4) Screw Lantern into the Kerb
Fasten the eaves beam using the provided screws. Use packers under the eaves beam if necessary to provide additional support and ensure a level of installation.
Install the Glazing
1) Place the Glass Retainers
Slide the glass into the retainers and set the spacings as shown in the guide. The retainers hold the glass panels in place and provide additional support to prevent any movement or displacement.
2) Install the Glass
Carefully position the glass panels, ensuring they are seated correctly in the retainers. This step requires precision to ensure that the glazing is correctly aligned and provides a watertight seal.
Apply Sealant
1) Seal the Edges
Apply sealant to all the edges where the glass meets the frame to ensure a watertight finish. Proper sealing is essential to prevent any water ingress and maintain the thermal efficiency of the roof lantern.
Finishing Touches
1) Fit the End Caps
Attach the inner and outer end caps to the rafters and hips. The end caps provide a finished appearance and help protect the internal components from the elements.
2) Install the Top Caps
Clip the top caps onto the rafters and hips, ensuring they are aligned correctly. The top caps complete the installation, providing a sleek and finished look to the roof lantern.
Why Hire Professional Korniche Roof Lantern Installers?
While the installation process might seem straightforward, hiring professional installers can offer several advantages:
Expertise
Professionals have the necessary skills and experience to ensure the installation is done correctly and safely.
Time-Saving
Professional installers can complete the job more quickly and efficiently.
If you’re still wondering ‘are roof lanterns a good idea?’, why not check out our blog for a range of articles with information on roof lanterns.
Warranty Protection
Professional installation can help maintain the warranty on your roof lantern.
Peace of Mind
Knowing that your roof lantern is installed correctly gives you peace of mind and ensures optimal performance.
Discover a Wide Range of Korniche Roof Lanterns at GFD Homes
At GFD Homes, we offer a wide selection of Korniche roof lanterns to suit various styles and preferences. Whether you’re looking for a modern design or a more traditional look, we have the perfect roof lantern for you.
Head over to our website to explore our range and find the perfect addition to brighten your home.
Still need help? Don’t hesitate to call our team on 01642 309576 for expert advice.
FAQs about Fitting a Korniche Roof Lantern
Are Korniche roof lanterns easy to fit?
Yes, Korniche roof lanterns are designed for easy installation. Their innovative design and detailed installation guide make the process straightforward for those with competent DIY skills. However, for the best results, professional installation is recommended.
How do you measure a Korniche roof lantern?
To measure a Korniche roof lantern, you need to measure the opening on your flat roof where the lantern will be installed. Ensure that the measurements are accurate and match the specifications of the roof lantern you intend to purchase.
What size Korniche roof lantern should I install?
The size of the Korniche roof lantern you should install depends on the size of the room and the amount of natural light you want to achieve. Consider the dimensions of the opening and consult with professionals to determine the best size for your space.
By following this guide, you can enhance your home’s aesthetic appeal and functionality with a Korniche roof lantern. For more information and to explore our products, visit GFD Homes.
