Last Updated on 10 December 2024 by Tia Ellahi
How Do You Adjust Rollers on Sliding Doors?
The best way to adjust rollers on sliding doors is to contact the supplier or fitter to ensure that any fixes are done professionally and without any headaches.
At GFD Homes, we’re all about making your home function smoothly and look great.
Sliding doors are a fantastic feature for creating an open, airy feeling in your space.
But if your door has started giving you an unexpected workout or isn’t gliding like it used to, it might be time for a quick tune-up of the rollers.
Don’t worry – with the right person and the right tools, your sliding door will be back in top shape before you know it.
This step-by-step guide covers the best practices you should follow to maintain your sliding door gliding effortlessly.
Remember, if the door isn’t operating as it should, it’s best to contact the supplier or the fitter. A professional can make sure everything is correctly aligned and fully functional. Now, let’s get started!
Need some specific information? Jump straight to it:
- When Do You Need To Adjust Sliding Door Rollers
- How to Adjust Sliding Door Rollers
- Maintenance Tips
- FAQs
When Do You Need To Adjust Sliding Door Rollers?
The simple answer is hopefully never!
Older sliding door models commonly came with adjustable rollers, and while some modern designs still include them, they are much less common. For any necessary adjustments, we always recommend contacting your fitter or supplier.
Here are the common signs to look out for before you contact your supplier or fitter:
Difficulty Opening or Closing the Door
If opening or closing your door feels more like a workout than a smooth slide, that’s a clear signal. Over time, the door rollers can lose alignment, or debris can accumulate on the track, making it harder for the door to glide.
The resistance can start gradually or show up suddenly, especially after a season of heavy use or if dirt and grime have built up.
Addressing this issue early, by regularly cleaning the tracks, can save you from more extensive repairs later.
Grinding or Squeaking Noises
Does your sliding door make unwelcome noises like grinding or squeaking?
That’s usually caused by friction, which could come from misaligned rollers or dirt in the track.
Regular cleaning of any debris or dirt from the tracks should help, a well-maintained door will glide as quietly as it did when it was new!
Unusual noises not only indicate wear but can also affect how secure and effective your door is. Ignoring these sounds can lead to more wear on the components, so don’t let it slide!
Visible Gaps or Uneven Positioning
If your door looks slightly off-kilter – perhaps a corner sits higher or lower than the rest – it’s likely time for an adjustment from the supplier or fitter.
Uneven positioning can make the door harder to lock and less secure.
When your door’s rollers are adjusted properly, it should sit snugly on the track with no visible gaps around the edges.

If you still have questions about adjusting sliding doors, don’t be afraid to contact our team for help.
How To Adjust Sliding Door Rollers
This can be an extremely difficult task for even the most seasoned DIYer, as all the sliding doors we provide, and many on the market do not have adjustable rollers to begin with!
That is why we highly stress that if any issues arise with your sliding doors, you should get back in touch with your supplier or fitter directly to ensure your sliding doors work as intended.
As they will have the best knowledge, tools and skills to rectify any issues you run into with your sliding doors.
However, maybe you’re fortunate enough to have sliding doors with easily adjustable rollers or have inherited an older set of sliding doors that need some maintenance?
In that case these tips can help you adjust sliding glass door rollers:
Step 1: Gather Tools and Supplies
You’ll need:
- Phillips screwdriver and flathead screwdriver for adjusting screws and prying caps or covers.
- Soft cloth for cleaning.
- Silicone-based lubricant for smoother rolling (avoid WD-40 on the rollers, as it can attract dust and grime).
- The contact details of the supplier or fitter if you have modern sliding doors
Step 2: Remove the Door from the Track
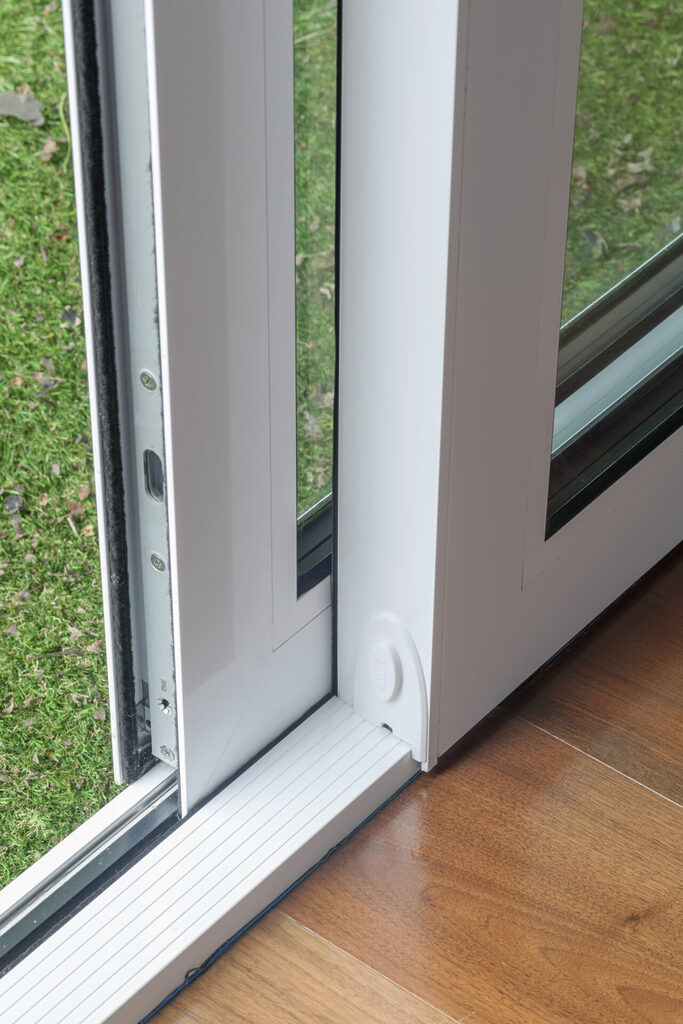
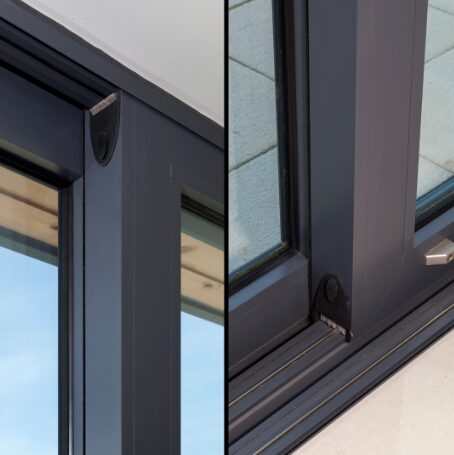
For older sliding doors, particularly those from the 1980s and 1990s, the door might lift out of the track once tilted. However, it’s rarely that simple with modern sliding doors, as many are fitted with anti-lift blocks for added security. These blocks will need to be carefully removed before attempting to lift the door.
Sliding doors are also very heavy—often weighing over 120kg—so we strongly recommend avoiding lifting them yourself. Instead, contact your fitter or manufacturer to safely remove and adjust the door as needed. This ensures both your safety and the proper handling of the door.
If you think your sliding doors need some adjustment, always contact the supplier or fitter, regardless of the age of the sliding doors.
Step 3: Find the Roller Adjustment Screws
If your sliding door has adjustable rollers, it will typically feature adjustment screws that control the height and positioning of the rollers.
These are typically found near the bottom of the door, and they may be covered by a small cap or panel that you’ll need to remove.
While it could be possible to do all this, we highly recommend contacting the supplier or fitter to ensure that everything goes smoothly.
Leaving the supplier or fitter to adjust your sliding doors for you will also save you any headaches or heartaches if anything were to go wrong!
Step 4: Adjust the Rollers
Adjust each roller slightly and evenly to avoid an unbalanced door. If your door still feels heavy, you may need to make additional small adjustments until you achieve a smooth glide.
While you may be able to adjust rollers on some older sliding door models, modern sliding doors vary—some still have adjustable rollers, while others do not.
That is why we recommend always contacting the supplier or fitter to rectify any issues that may arise with your sliding doors!
Not only do they know what they are doing, but it saves you from any future headaches if something goes wrong!
Step 5: Clean the Track
You really don’t need to take your sliding door to pieces to do this, in fact cleaning can be very easily done before you even think about breaking out a tool kit!
Use a vacuum to remove any dirt or debris, then wipe down the track with a damp cloth.
If stubborn grime remains, avoid using sharp tools like knives, as these can damage the track and pose safety risks. Instead, use a soft brush to gently loosen the debris without scratching the surface.
Dust and grit in the track often create the grinding or resistance you feel when moving the door.
Making sure the track is regularly maintained and cleared of debris can fix the majority of issues without you needing to dismantle your sliding door!

If you’re wondering ‘what are sliding doors’, read our blog for a range of articles on everything you need to know about this stunning type of patio door.
Step 6: Replace and Test the Door
Once the rollers are adjusted and the track is clean, carefully place the door back on the track.
Test it to make sure the adjustments worked. You should feel a smooth, easy glide without any sticking or grinding noises.
While these steps could be used on older sliding door models, when it comes to their modern counterparts it really is best just to contact the supplier or fitter if you encounter any problems with the operation of your sliding doors.
Contacting the supplier or fitter will ensure that your sliding doors continue to function as intended for years to come!
Tips for Ensuring Smooth Sliding Doors
Keep your sliding doors working well with a few easy maintenance tips. The more you care for the small parts, the better your door will perform over time.
Clean the Tracks Regularly
Remove dust and debris from the track regularly.
Vacuuming the track and wiping it down with a damp cloth every few months will keep things running smoothly.
Neglecting the track can lead to buildup that causes the door to stick or make noise, so keep up with regular cleaning!
Lubricate the Rollers
Lubricate the rollers every few months, especially if you start to notice any squeaking or resistance.
Avoid using oils like WD-40 on the rollers, as these can attract dirt and grime.
A silicone-based lubricant works well because it keeps everything moving without leaving a sticky residue.
Inspect for Wear and Tear
Sliding door components can wear over time.
Check your rollers, screws, and track every six months or so.
If you notice any parts that look worn out or damaged, it’s best to contact the supplier or fitter so they can be replaced sooner rather than later to avoid more significant issues down the line.
Effortlessly Glide Into Sliding Doors With GFD Homes!
By following these steps, you’ll have your sliding doors gliding smoothly in no time.
At GFD Homes, we’re here to help you make the most of your home, so if adjustments don’t go as planned, or you’re looking to start your sliding door journey just reach out!
Our expert team is always ready to help and you can reach them on the phone at 01642 309 576 or contact them online for any questions you may have about different types of sliding doors!
Looking for the perfect sliding door? Our Smart sliding door range combines effortless functionality with sleek, modern design, making it a stunning addition to any contemporary home.
FAQs about Adjusting Rollers on Sliding Doors
Why are the rollers on my sliding door not adjusting?
If you’re having trouble adjusting the rollers, they might be damaged or there could be excess debris preventing smooth movement.
Contacting the supplier or fitter is recommended for a more thorough inspection – we’re always here to help ensure your door works like new.
Why does my roller door keep getting stuck?
Sticky doors are never fun! It could be due to dirt buildup or misaligned rollers. Cleaning the track and adjusting the rollers as described in this guide should help. If issues persist, our team is just a call away to give you that extra support.
Can you use WD-40 on sliding glass door tracks?
We don’t recommend using WD-40 on sliding glass door tracks, as it tends to attract dust and grime. A silicone-based lubricant is a better choice as it won’t collect debris, keeping your track smooth and dust-free.
